Five minutes to create your first component, fill it with data, invite a colleague and publish it. No account yet? Start with Create your account.
Minute 1: find your way around the studio
The sidebar on the left holds everything you need to navigate:
Minute 2: create a list
Open All Files and click Create.
In the Library, App & Components tab, choose List, then Create.
The component opens, named "Untitled". Click the title to rename it, for example "My customers".
Shortcut
Right-click an empty area of All Files › New component does the same.
Minute 3: add data
The list is already connected to Kubme storage: you can fill it right away.
Add columns: Configuration gear › Columns › Add column. Give it a name and a type (Text, Number, Date, Email, Tag…).
Add a row: Add button in the toolbar.
Paste from Excel: copy a range in your spreadsheet, go back to the list and press
Ctrl+V (Cmd+V on Mac). Kubme lets you match the columns.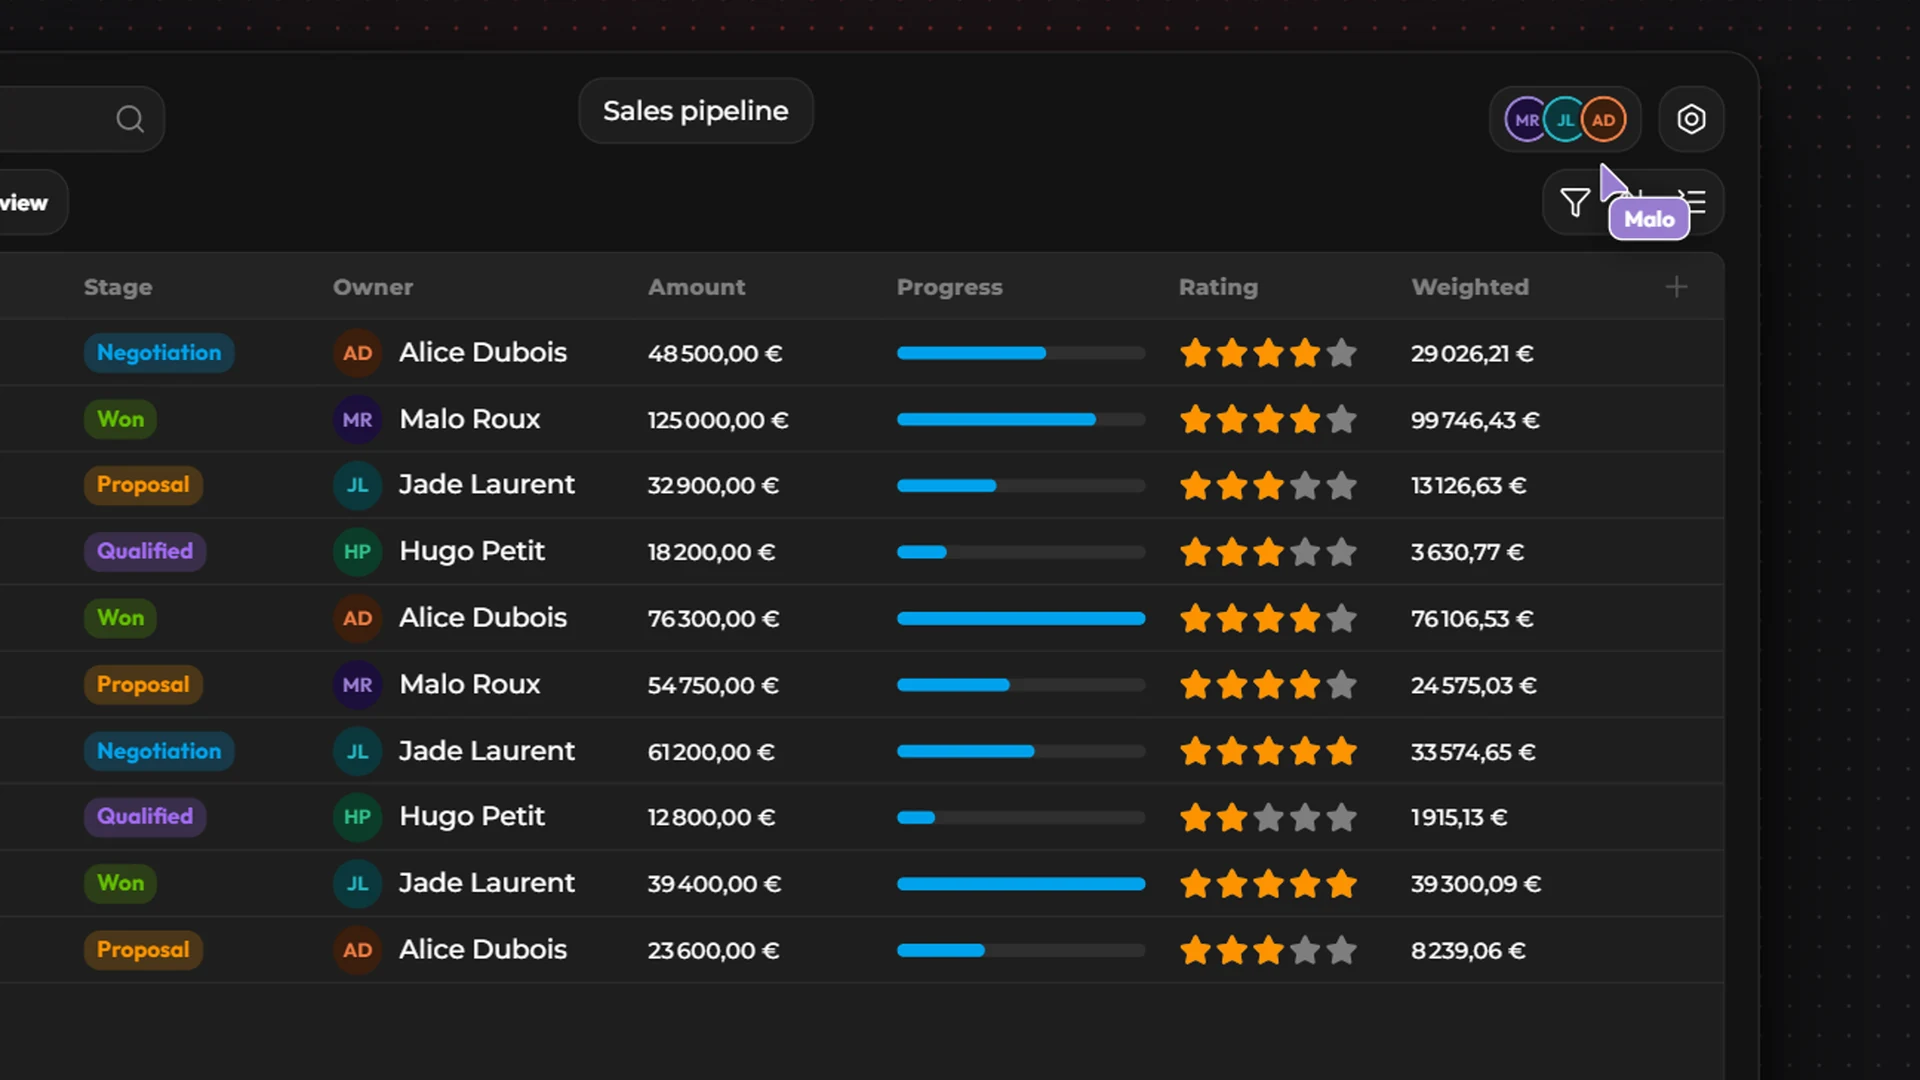
All the details: Lists.
Minute 4: invite a colleague
Go back to All Files, right-click your list › Share.
Enter your colleague's email and choose a role (Reader, Contributor, Manager or Administrator).
Click Add (a member of your organization) or Invite (an outside person, who receives an email).
Open the list together: you see the other person's avatar at the top, and their changes show up live. See Sharing and invitations and Co-editing.
Minute 5: publish
In the list, open the Menu › Version history › New version, and give it a name ("v1").
Open Configuration › Domains › Add domain › Kubme domain.
Choose an address, for example
my-customers, then assign it the "v1" version.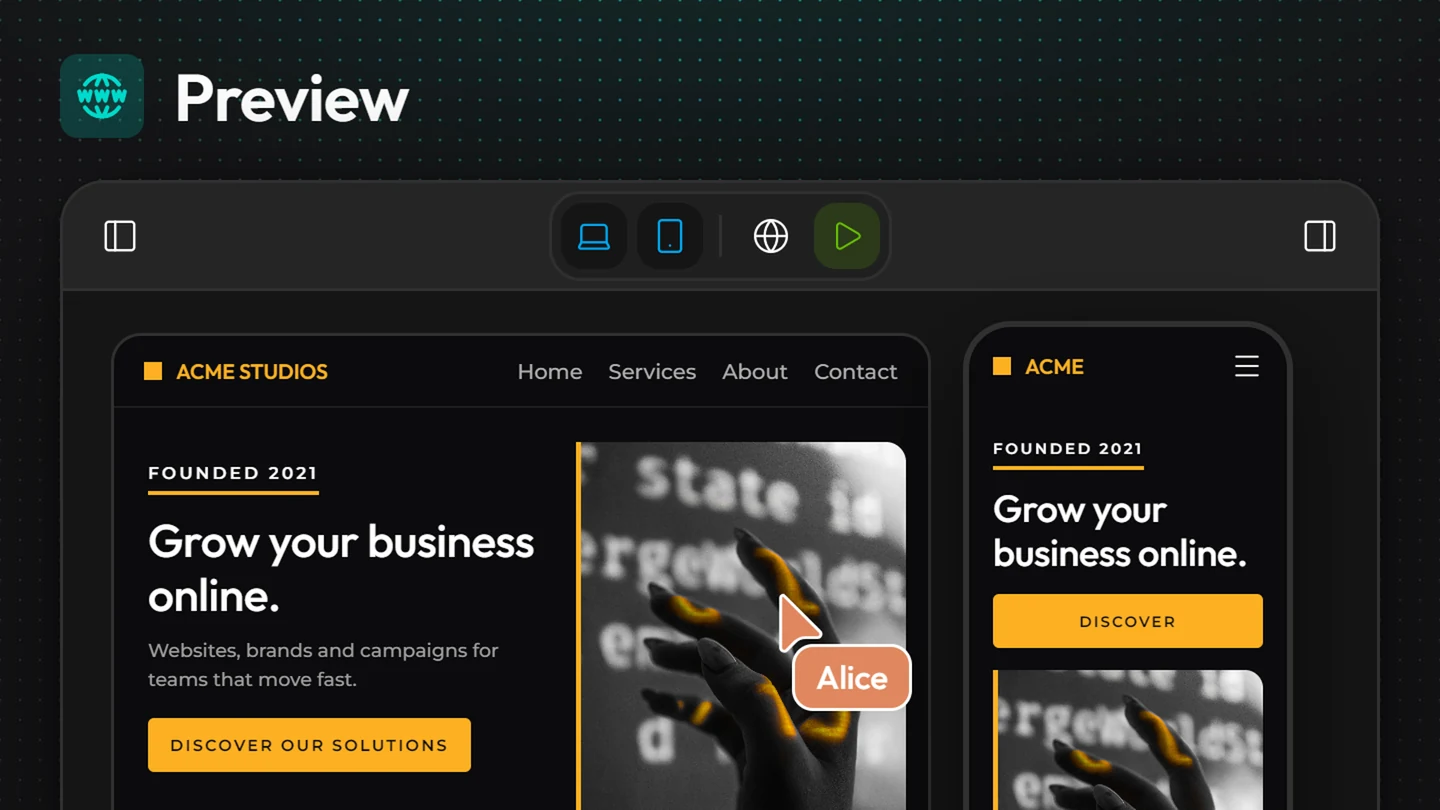
Your list is live at https://my-customers.kubme.app, read-only. See Version history and Kubme and custom domains.
What's next?
Let Kubme AI do the work: "Create a map of my stores in Lyon". See How Kubme AI works and what it uses in AI credits and tokens.
Drive Kubme from your usual assistant: Claude, ChatGPT or Le Chat, through the Kubme MCP server.
Connect your own data with a connector, for example a custom connector to your API.